
YOUR WEDDING CAKE GUIDE
There’s something undeniably magical about a wedding cake. It’s not just dessert -- it’s a symbol. A sweet and delicate display of unity, celebration, and shared joy. For many guests, it’s one of the highlights of the reception -- not only for its taste but also for its artistry. The flavours you choose, the design you dream up, and the way it’s shared all speak volumes about who you are as a couple. But choosing the perfect cake isn’t just about flipping through Pinterest or asking your aunt to whip something up. There's more to it than meets the eye -- and taste buds.
Step One: Hire a Professional
Your aunt may make a mean chocolate cake, but creating a multi-tiered, transportable, wedding-ready showstopper is a whole different art. This is not the time for homemade unless your loved one is a seasoned pro with the right experience and tools. A professional Cake Designer comes with not only creativity but also logistics -- like ensuring your cake doesn’t collapse en route or melt before photos. Look for someone with:
• A solid portfolio of work;
• Great client reviews;
• Business insurance;
• A Food Hygiene Certificate.
And don’t hesitate to walk away from anyone with a track record of no-shows or wedding day disasters. This is one of the most photographed elements of your celebration -- treat it like the centrepiece it is.
Step Two: Taste the Possibilities
Once you've selected a professional, book your tasting session. This is your opportunity to discover your cake’s soul -- the flavour! Expect to pay a small fee to cover ingredients, but it's worth every bite. You’ll sample flavour combinations you didn’t know existed -- from citrusy and light to rich and indulgent. Don’t forget to include your partner -- this moment can be surprisingly fun and intimate. And remember to make notes! You'll taste so many flavours that you may forget which ones you liked best!
Step Three: Know the Lingo
Before you get swept up in design ideas, it helps to understand the key terms your Cake Designer may use:
- Icing: A general term for sweet toppings, soft and spreadable;
- Fondant: Rolled and smooth, fondant creates a sleek, sculpted look but has a firm, chewy texture;
- Buttercream: Light, fluffy, and full of flavour -- popular for its taste and versatility;
- Ganache: A rich, glossy mix of chocolate and cream. Decadent and perfect for a luxe finish;
- Royal Icing: Dries hard and is great for detailed designs or cookies, but less commonly used on full cakes;
- Layers: The horizontal cake-and-filling combos inside each tier;
- Tiers: The vertical levels of your cake -- stacked for drama or separated with spacers and florals.
Step Four: Decide on Cake Size & Structure
Now that you know your flavours and style, it’s time to decide how much cake you actually need. Here’s where your guest list plays a role. A true professional will calculate servings based on your numbers. But if you’ve fallen in love with a tall five-tier masterpiece and only have 40 guests, don’t worry -- dummy tiers are your new best friend. These look identical to real cake but are made of decorated foam, giving you the dramatic look without the excess (or waste).
On a budget? Opt for a small cutting cake for you and your partner, and serve cupcakes, cookies, or donuts to guests. Equally beautiful and often more cost-effective.
Step Five: Discuss Fresh Flowers Carefully
Floral-adorned cakes are breathtaking -- but safety matters. Not all flowers are food-safe or free from pesticides.
Ensure your Cake Designer:
- Uses non-toxic, organic, or edible blooms;
- Avoids placing flowers directly into the cake without protection;
- Assigns someone to remove the flowers before serving (unless they’re edible!).
These details elevate your cake and protect your guests.
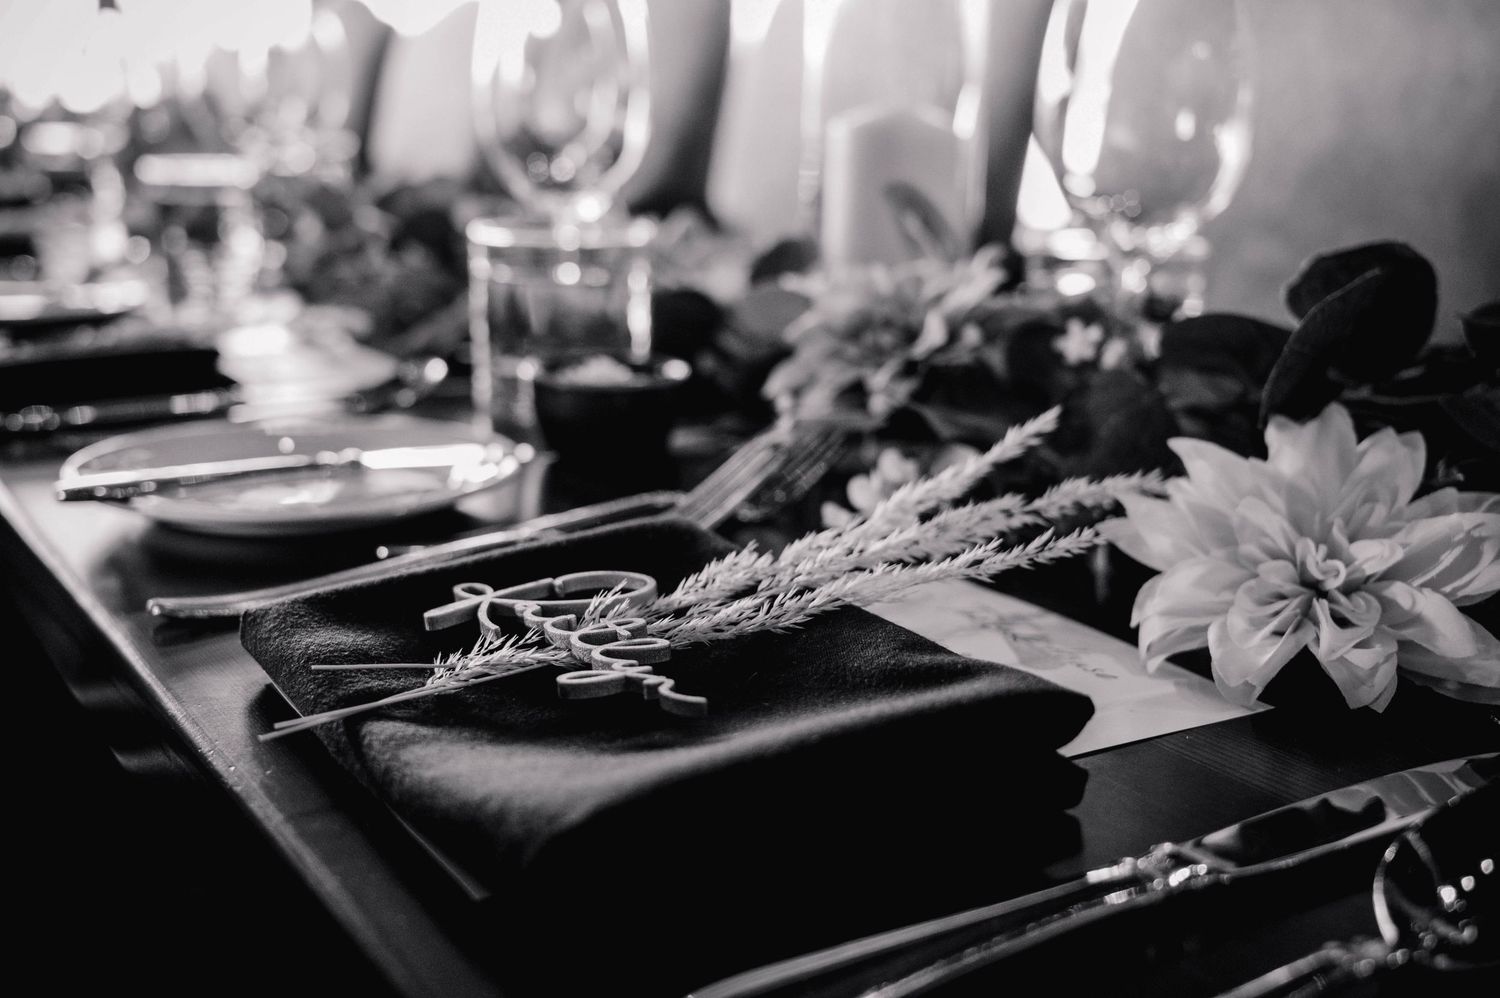
Step Six: Design the Cake Display
Your cake deserves a stage. After all, it’s edible art. Here are a few ways to showcase it beautifully:
- Custom Cake Stands: These can match your aesthetic and elevate the overall design;
- Styled Tables: Add candles, florals, fabrics, or themed décor for an Instagram-worthy moment;
- Backdrops & Props: Think floral arches, fairy lights, vintage furniture, or even a simple linen-draped table in natural light. Don’t just place your cake -- present it.
Talk with your planner, stylist, or Cake Designer about this setup. Where the cake sits, how it’s lit, and what surrounds it all matter.
Step Seven: Final Check-In
One week before the wedding, confirm everything with your Cake Designer:
- Final guest count;
- Cake size and tiers;
- Design details (colours, florals, textures, etc.);
- Delivery time and display logistics.
This last touchpoint ensures there are no surprises and everything aligns with your vision.
Trust the Process, and the Artist
You’re not just ordering dessert -- you’re commissioning a symbol of your love. Trust your Cake Designer to take your inspiration and transform it into a breathtaking, delicious experience. Collaborate with openness, speak up about your priorities, and let their creativity guide the way. When the moment comes to cut into it, surrounded by those who matter most, you’ll be sharing much more than cake -- you’ll be sharing a story. Your story.

